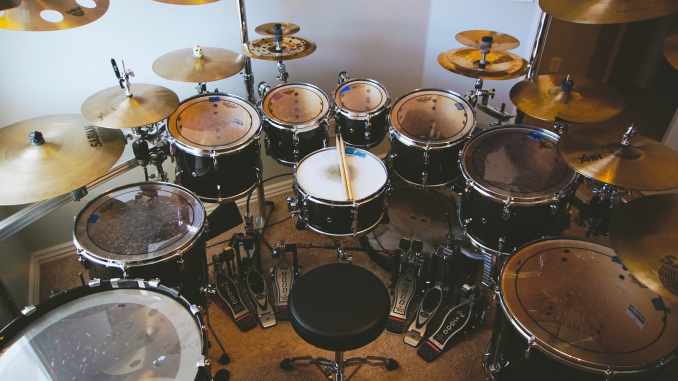
Over time, drums become covered with dust, wear out and lose their original shine, which also affects the sound. Timely and regular if you start taking care of Drums it will prolong their life. With this simple instruction, you can keep all the parts of your tool working and keep them looking perfect. And if you need to replace any element, check out simplydrum.com and find a review for the accessory you need.
Where to Start
It is sufficient to remove dust with a soft brush and greasy stains with a soft cloth in most cases. However, drums should be thoroughly cleaned regularly. If your instrument sounds and looks bad, then it’s time for a big cleanup. To do this, you will have to disassemble them.
Begin by removing heads to get to the inside. Release the tension on plates evenly and unscrew all fittings and fasteners and place them in a container. Then take off rims and heads to access lug mounting screws. Next, loosen the bolts on the inside of the drum housing. Separate the lugs from the body and set them aside. Between the body and the drum’s fittings, there can be various rubber gaskets, growers, etc. installed.
Cleaning Drums
To clean the bolts from old grease, you can pour some mineral spirits into containers. When cleaning the shell, it is unnecessary to use any special cleaning agents; just wipe it with a clean, dry cloth. For lacquered drums, you can use regular furniture polish spray if desired.
A fine wire sponge is excellent for removing rim contamination and signs of corrosion. After you’ve removed all the dirt and rust, apply a little metal polish to a dry cloth and wipe the rims thoroughly with it.
Then wipe the lugs with a metal sponge and use a cloth dampened with polish. Depending on the shape of lugs, you can use a small brush to penetrate all hard-to-reach places. Once you’re done with rims and lugs, go back to the tension rods that were previously soaked in mineral spirits.
Before drying the bolts, also treat them with a wire sponge. To do this, wrap the bolt with a sponge and turn it several times. It will completely get rid of the remnants of dirt and rust in the threads. After cleaning and drying rods, apply some fresh lubricant to threads.
Drum Assembly
Attach the hardware to the drum body in strict accordance with the order in which it was installed earlier. Carefully fasten fixing bolts of lugs, first by hand, and only then tighten them with a screwdriver. Put the rim so that bolt holes on it exactly match threaded holes in lugs and install tensioning rods by hand. After bolts are evenly tightened, adjust the drum.
Storage and Transportation
Drums require the most protection during storage and transport you should start taking Care of Drums. Sudden temperature changes can damage wooden drum shells. There are two main types of cases to protect them: soft and hard. The choice of the case type depends on your style of work: how often you tour, in what conditions your instruments are transported, etc.
How to Make Cleaning Easier
Remember that your drums will be in good condition if your rehearsal studio is cleaned regularly. Concerning oxidation and other deformations of metal elements, it is necessary to maintain a constant temperature in the room. Make sure that the studio is properly heated during the winter. Use an air conditioner during summer. It will help extend the life of your cymbals and stands.

Leave a Reply