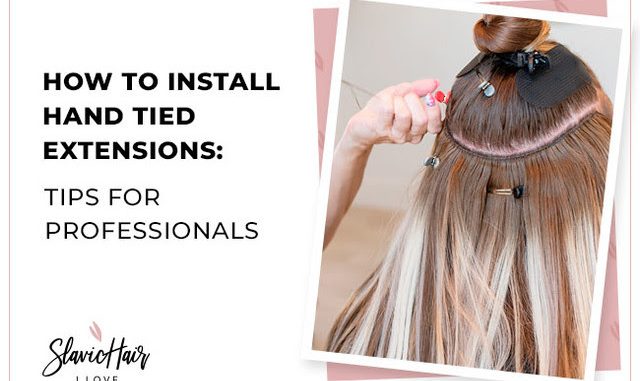
Hand tied extensions are a popular extension technique that will be a great option for those customers who look for maximum comfort and natural look of the hairstyle.
This information will be useful for those clients who want to know the process of such extensions application, as well as for hair stylists who plan to add sew ins to their list of beauty services.
What Equipment Do You Need to Install Hand Tied Extensions?
The first and most important thing to buy for extensions is hand tied wefts. These are thin and neat wefts, which are hand-made from high-quality natural hair and knotted onto the seam.
The wefts are usually custom-made for the client, taking into account the hair texture (for the thinnest – Slavic hair, for the denser – Russian (Dyed) hair), structure (smooth, curly or wavy), shade, head size and desired length of future hair.
You can order the best hand tied extensions on the website of the Canadian company I Love Slavic Hair. This brand offers a large selection of high-quality raw materials for hair extensions that have passed the safest and most delicate processing. They make wefts taking into account all wishes, so you will be delighted with the result!
You will also need the following tools:
- Thread for weaving: selected according to the color of the hair;
- Silicone beads for fixing (2 or 3 mm);
- Tool for opening beads;
- Pliers to clamp the beads;
- C-shaped needles for weaving;
- Scissors.
Hand Tied Extensions Installation Step-by-Step
The process of weft application is as follows:
- At first, the hairstylist needs to make a thin braid around the head of the client. Then a ready-made weft is sewn into this braid. Don’t tighten the braid too much, otherwise wearing such a hairstyle can be quite uncomfortable.
- Then the hair tech sews the weft into the braid, using the above-mentioned thread and needle.
- The beads are used for weft fixation: they are necessary to protect the extensions from sliding off.
- If you have several rows, this procedure is repeated for each row of hair.
- The hair stylist must control that the wefts are hidden under the natural strands.
Everything is ready! Now your customers will have beautiful, comfortable and well-groomed hair for the next 6-9 weeks!

Leave a Reply